Step 1
Let’s start the symbol in Illustrator. With the Pen Tool (P) start creating the shield. Maker sure you have red for the stroke with a nice weight and using round corners.
Image may be NSFW.
Clik here to view.
Step 2
Now still using the Pen Tool, start creating the S. You can use the real logo for reference.
Image may be NSFW.
Clik here to view.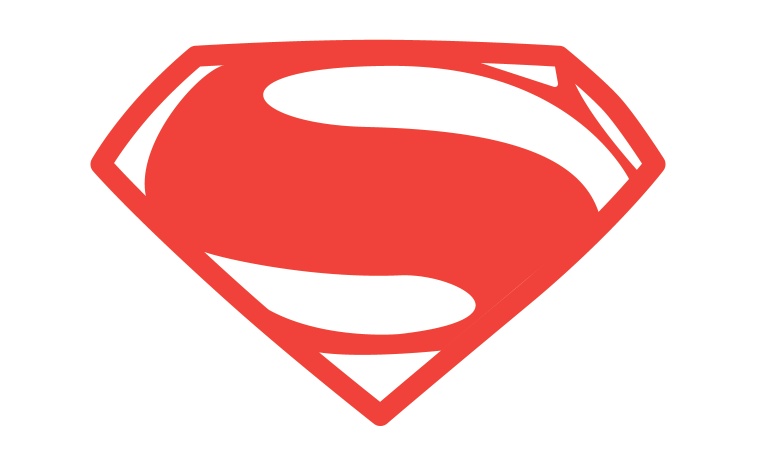
Step 3
If you notice, the Man of Steel logo has some details in the center, so let’s try to replicate that using the Pen Tool. The stroke here is not really necessary because we will edit that in Photoshop later on.
Image may be NSFW.
Clik here to view.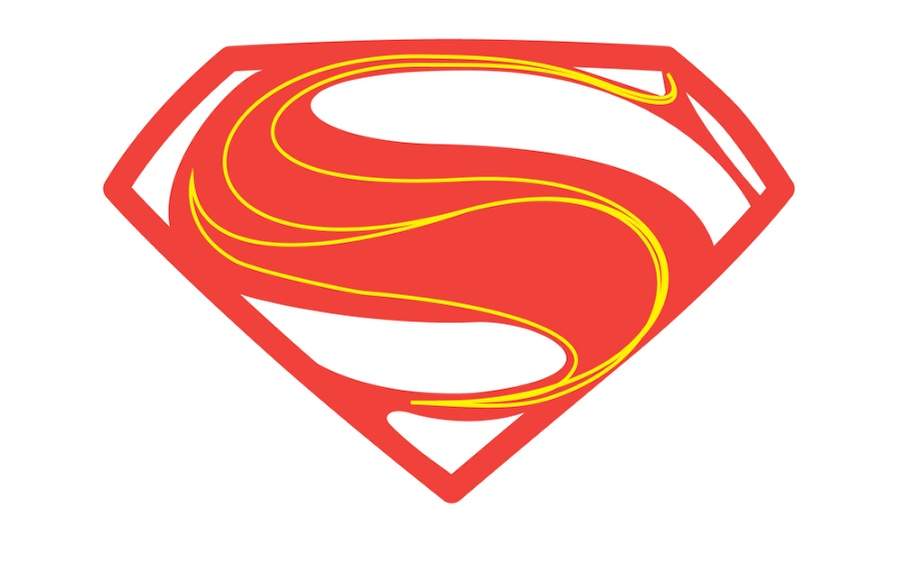
Step 4
Go to Effect>3D>Extrue & Bevel Options. For the Angle use: -4º, 0º, 0º with 120º for the Perspective. Change the Depth to 35pt.
Image may be NSFW.
Clik here to view.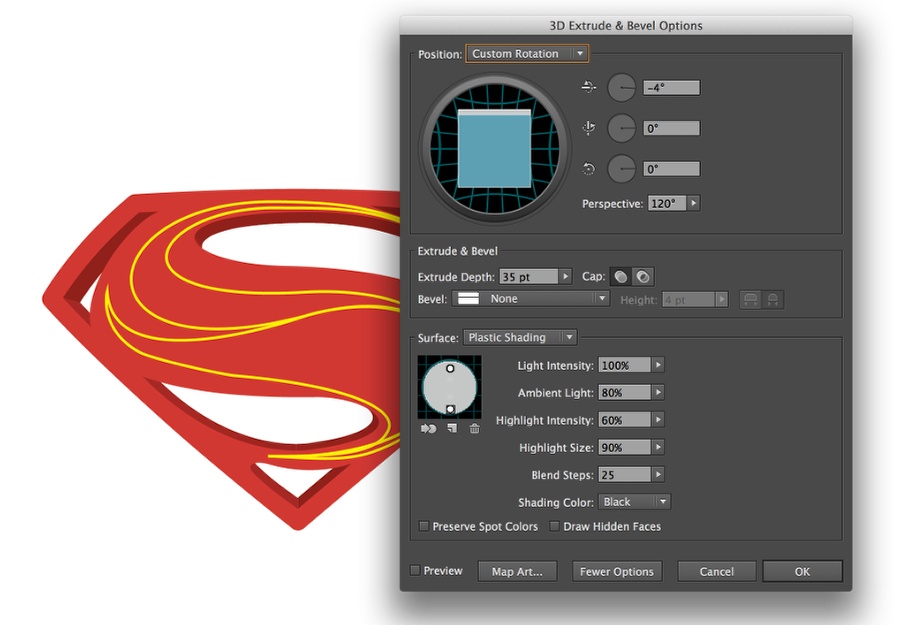
Step 5
Remove the caps of the 3D and then change the color to grey. Go to Object>Expand. Then go toWindow>Pathfinder. Select Unite for the Shape Mode so you have one object.
Image may be NSFW.
Clik here to view.
Step 6
Now let’s go to Photoshop. Create a new document. I am using 2880×1800 pixels. For the background use a gradient with white in the center and black on edges.
Image may be NSFW.
Clik here to view.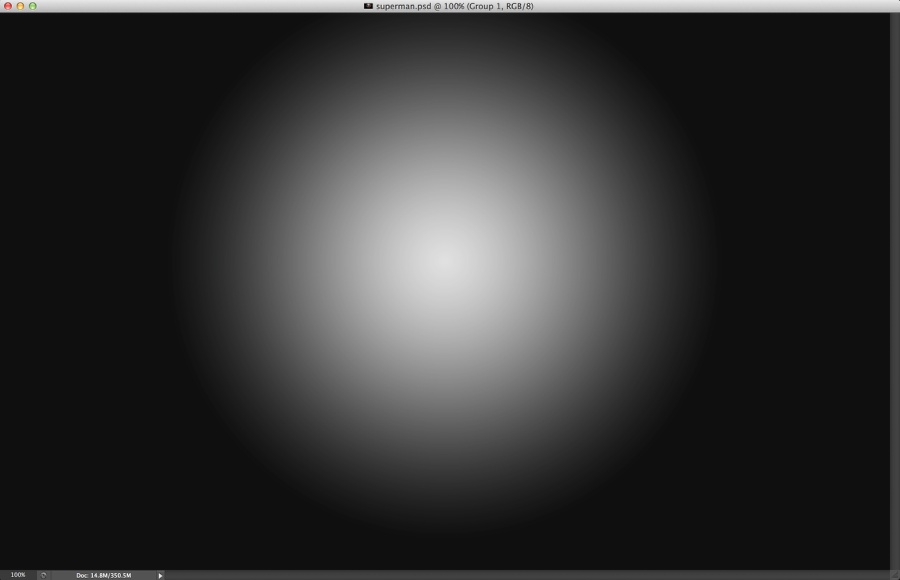
Step 7
Copy the objects from Illustrator and paste them in Photoshop. It’s important to make sure that each object has its own layer, so you will have one for the 3D extrusion, one for the red symbol and 2 layers for the yellow details.
Image may be NSFW.
Clik here to view.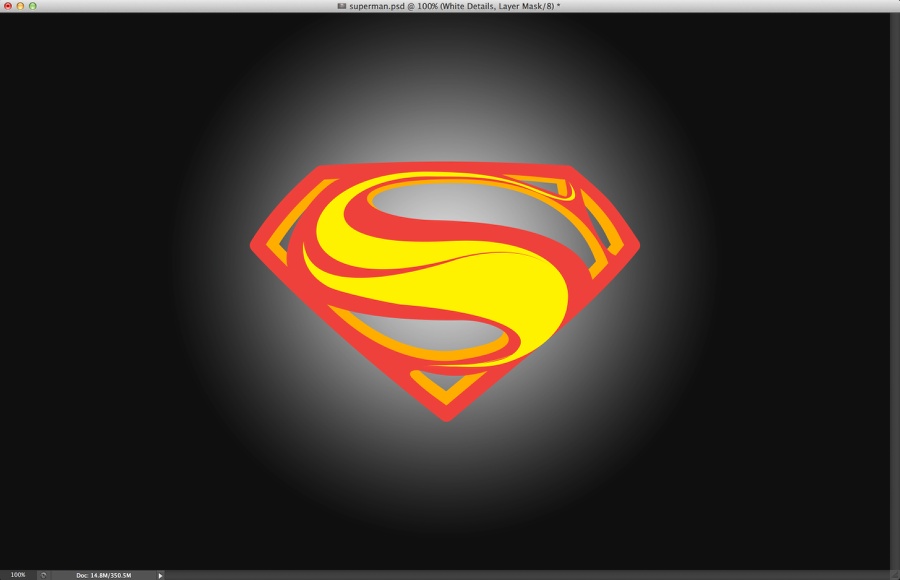
Step 8
Select one of the yellow details and go to Layer>Layer Styles. Select Bevel and Emboss and use the values below.
Image may be NSFW.
Clik here to view.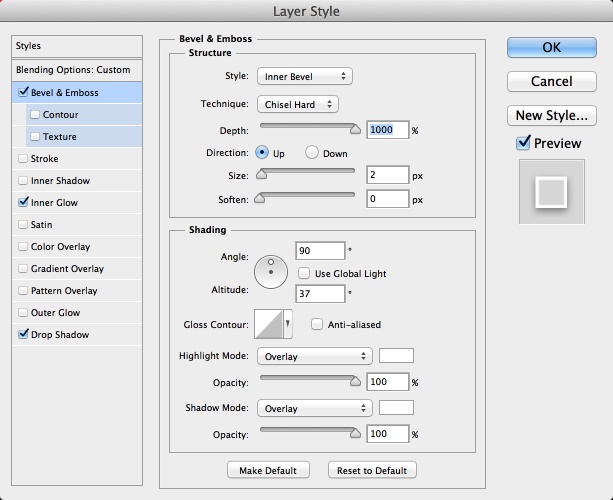
Step 9
Select Inner Glow and use the values in the image below.
Image may be NSFW.
Clik here to view.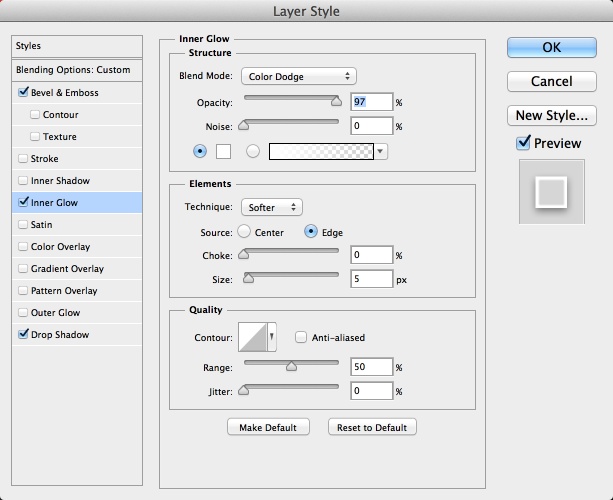
Step 10
Last but no least, select Drop Shadow. Again use the image below for reference.
Image may be NSFW.
Clik here to view.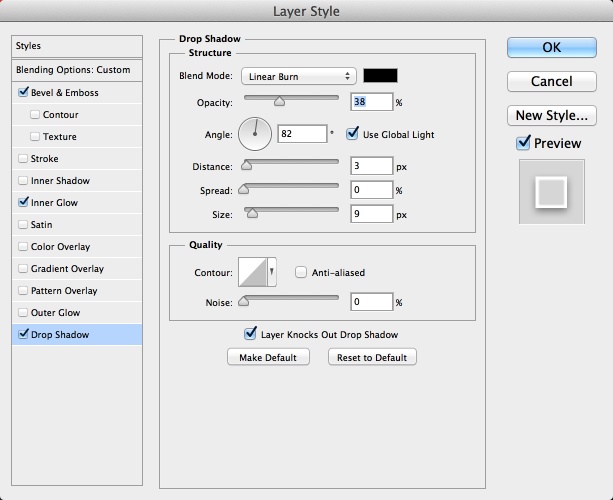
Step 11
You will have an effect like the image below. The idea of the layer styles was to add a subtle white stroke with a shadow.
Image may be NSFW.
Clik here to view.
Step 12
Group each layer into a folder, then for each folder do this: Go to Layer>Layer Mask>Reveal All. With theBrush Tool (B) and a very soft brush using black, paint in the areas marked below to hide some parts of the details.
Image may be NSFW.
Clik here to view.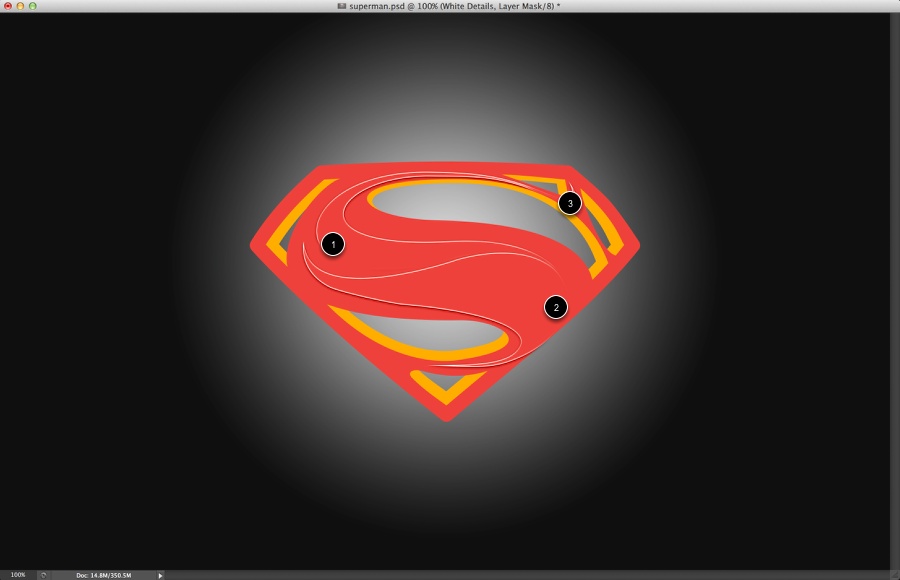
Step 13
With the Brush Tool (B), and using a hard brush, paint a little dark detail in the center. If you look at the orginal, they have some sort of the same detail. Let’s create now and adjust later on in the tutorial.
Image may be NSFW.
Clik here to view.
Step 14
Add a layer on top of the red symbol, the one that has the S and the shield. Group this new layer into a folder. With the Brush Tool (B) and a very soft brush, paint some dark areas with black at 20%.
Image may be NSFW.
Clik here to view.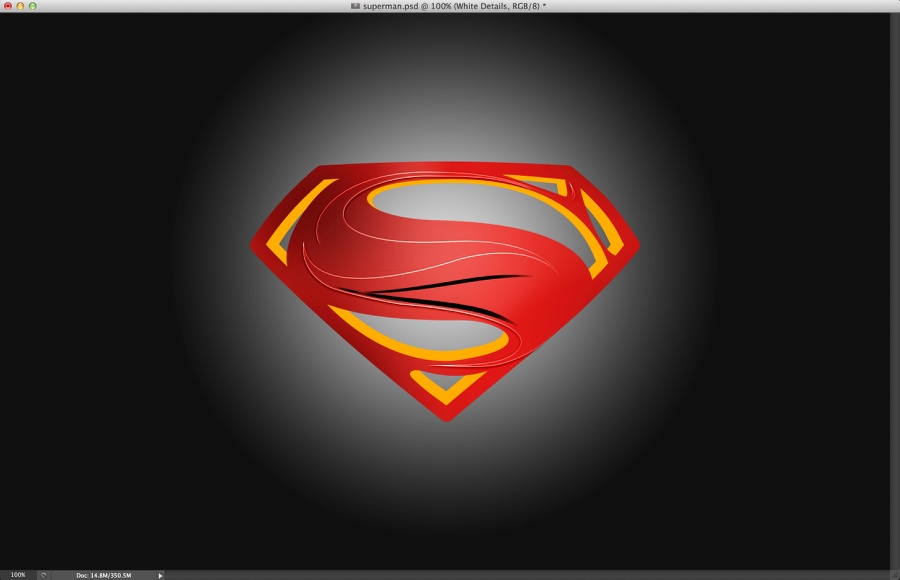
Step 15
Select the layer of the red symbols and go to Layer>Layer Style. Start by selecting Bevel & Emboss and use the values below.
Image may be NSFW.
Clik here to view.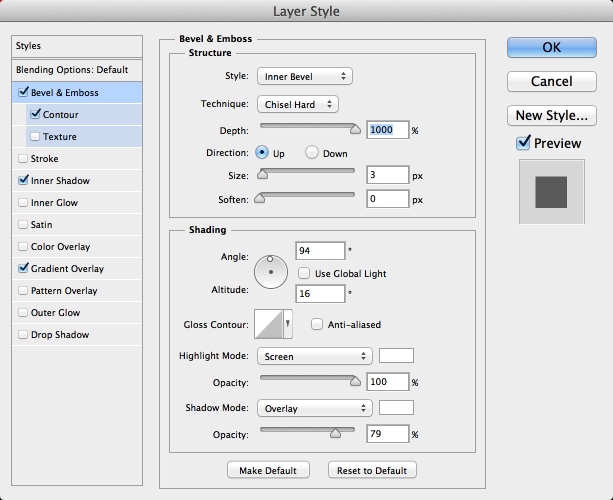
Step 16
Select Contour and use the default values.
Image may be NSFW.
Clik here to view.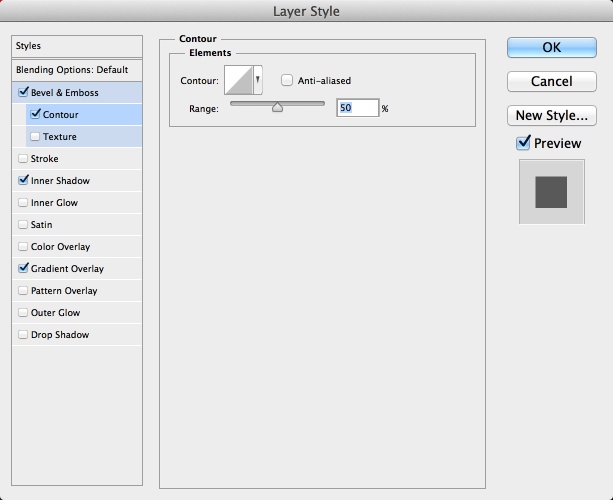
Step 17
Select Inner Shadow. The idea of the inner shadow is to increase the strenght of the highlights.
Image may be NSFW.
Clik here to view.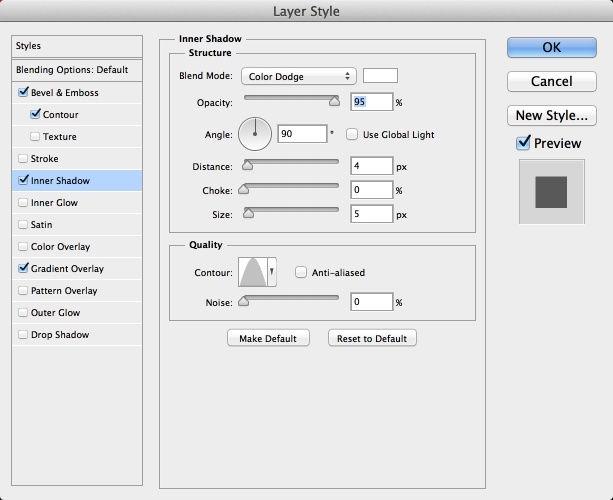
Step 18
Now let’s add a radial gradient on top with Multiply to create a more dramatic light effect.
Image may be NSFW.
Clik here to view.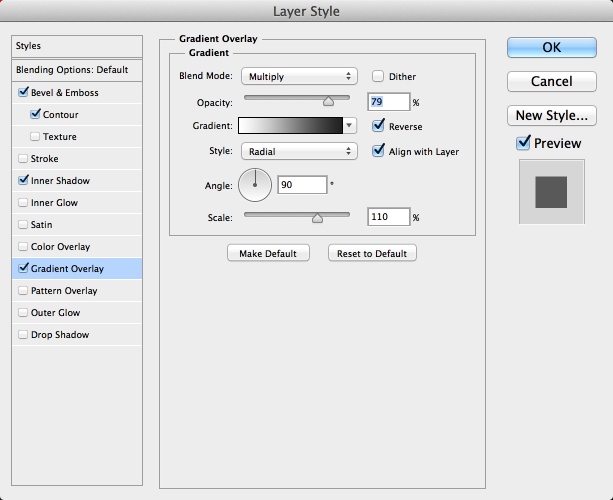
Step 19
You can add more layers to make the dark areas a bit more strong, but in the end of these steps you will probably have something similar to the image below.
Image may be NSFW.
Clik here to view.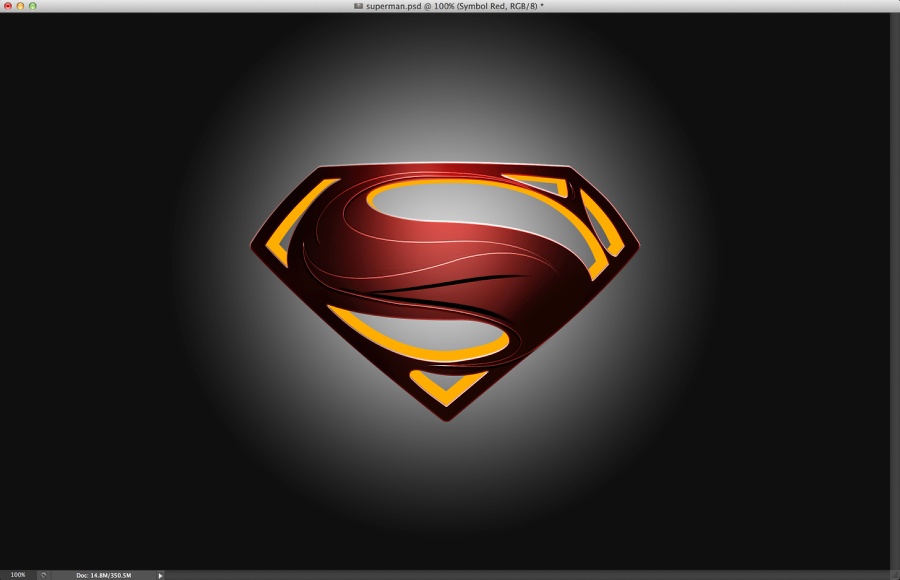
Step 20
Let’s start adding some textures. Select the 3D layer and go to Layer>Layer Style>Color Overlay. Use yellow for the color. Place your metal texture on top of this layer, the one we are using is courtesy ofShutterstock and it’s titled Metal plate steel background. Hi res texture by R-studio. After that, holding theCommand(MAC)/Control(PC) keys, click on the thumb of the layer of the 3D object, that will create a marquee selection of the 3D area. Select the texture layer and group it into a folder, then with the folder selected go to Layer>Layer Mask>Reveal Selection. You will mask the layer and make just the 3D area visible. Change the Blend Mode of the folder to Multiply.
Image may be NSFW.
Clik here to view.
Step 21
Add another layer and group it into a folder, repeat the masking process to make sure that everything you do will be only visible over the 3D area. Change the Blend Mode of the folder to Color Dodge, then with the layer select, paint some highlights with the Brush Tool (B) with a very soft brush and white for the color. Note: Start painting with 30% opacity to not make it too bright.
Image may be NSFW.
Clik here to view.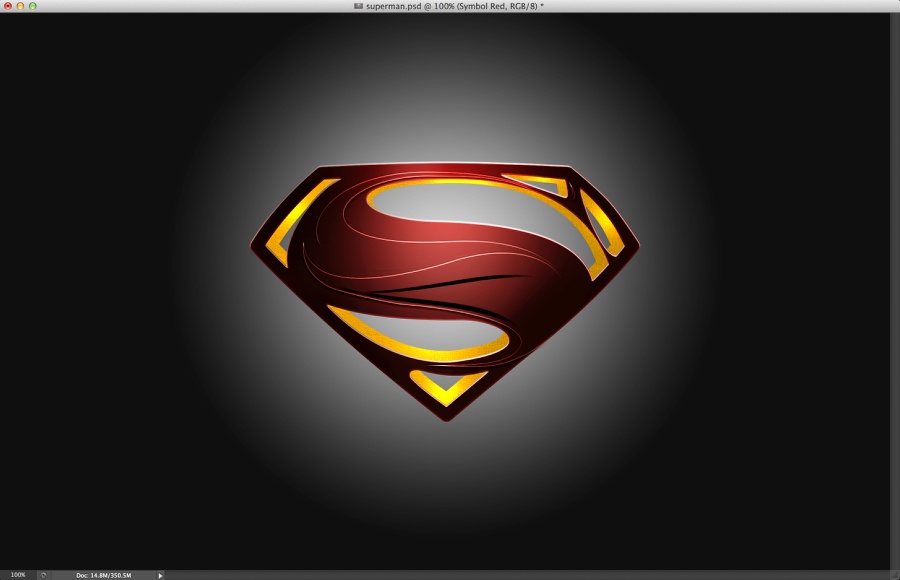
Step 22
Repeat the same process, but this time it’s going to be to create the shadows. Use Linear Burn for the Blend Mode for the folder however. Also use the Lasso Tool (L) to create the nice transition in the 3D sides (1-4)
Image may be NSFW.
Clik here to view.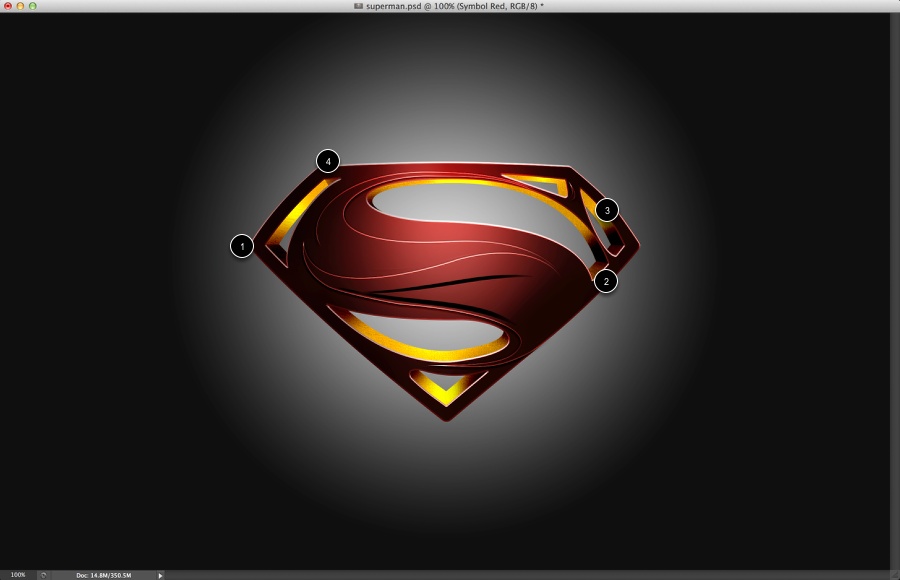
Step 23
Select the 3D layer and the red symbol layer and duplicate them. After that merge those 2 layers into one and fill this new layer with black. Move the layer down to create a little shadow and go toFilter>Blur>Gaussian Blur. Use 10 pixels for the Radius, also change the Blend Mode to Multiply at 80%.
Image may be NSFW.
Clik here to view.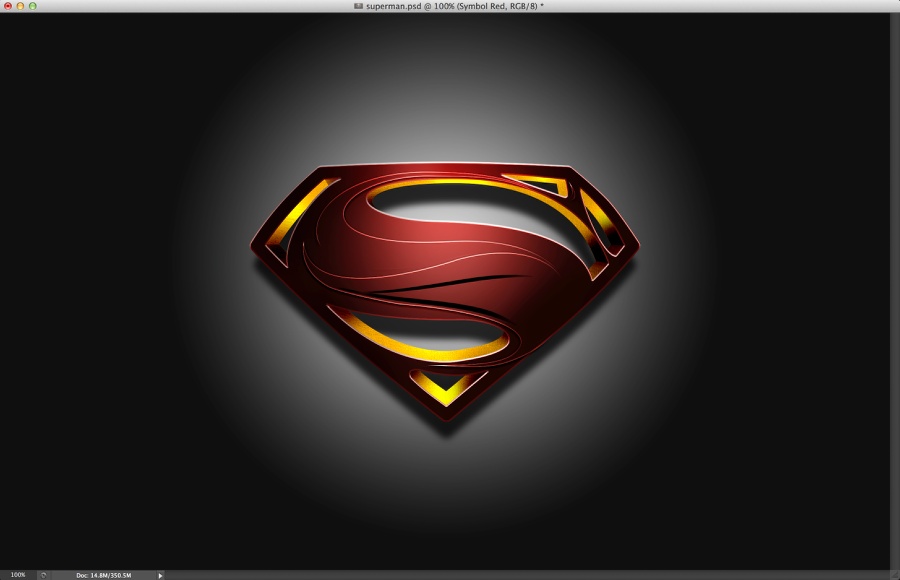
Step 24
Let’s import a new texture. This time we are using another image from Shutterstock, it’s titled Metal background by Phiseksit. Use Soft Light for the Blend Mode.
Image may be NSFW.
Clik here to view.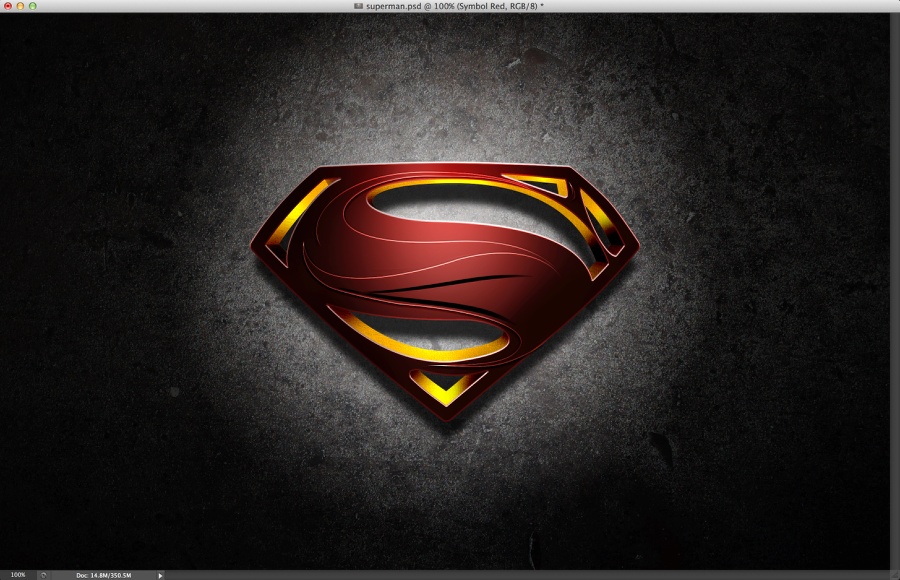
Step 25
Duplicate the texture layer and move the layer position so it is on top of all other layers. Maker a Marquee Selection of the symbol only and go to Layer>Layer Mask>Reveal Selection. The only area visible of the texture will be the one over the symbol. Change the Blend Mode to Overlay.
Image may be NSFW.
Clik here to view.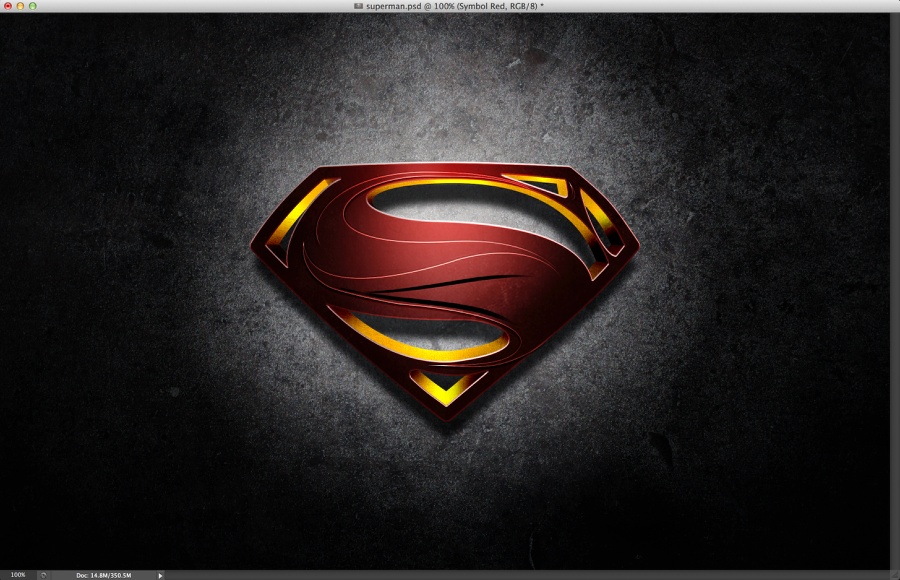
Step 26
Let’s add another texture. This one this time is from Google Images and you can find it herehttp://www.texturex.com/albums/Metal-Textures/TextureX%20steel%20texture…. Place it at the top of all other textures and use Soft Light for the Blend Mode at 70%.
Image may be NSFW.
Clik here to view.
Step 27
Now let’s add the final texture, this one will be underneath the last 2, but still on top of all other layers. You can download it at http://fc00.deviantart.net/fs50/f/2009/262/3/f/Scratched_Steel_Texture_b… . Use Soft Light for the Blend Mode as well.
Image may be NSFW.
Clik here to view.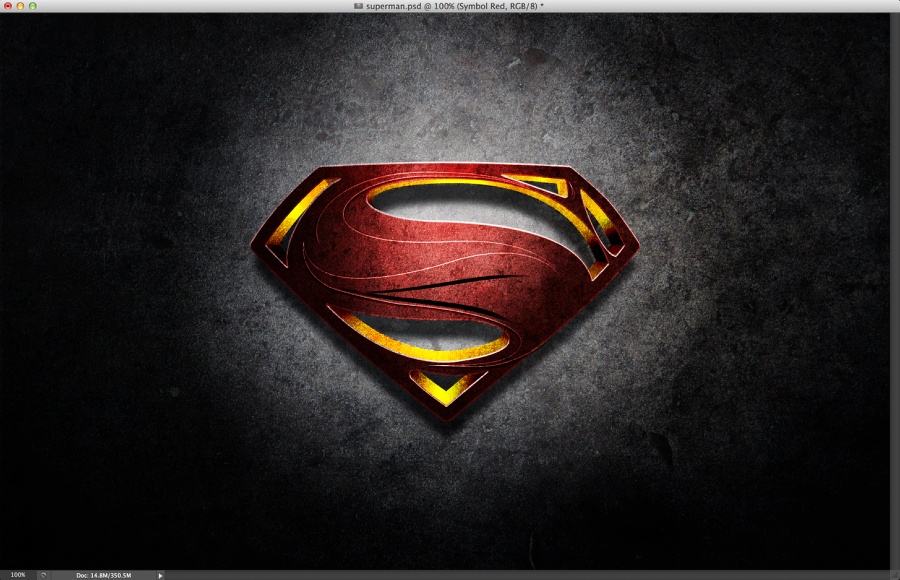
Conclusion
Add another layer on top of all layers and group it into a folder. Change the Blend Mode of the folder to Linear Dodge at 80% Opacity. Select the layer in this folder and then with the Brush Tool (B) and a very soft brush, paint a spot light with white at the top of the symbol. After that your design is pretty much done. You can of course improve the details and textures, but the process won’t change, so now it’s up to you to make it the way you want it.
Image may be NSFW.
Clik here to view.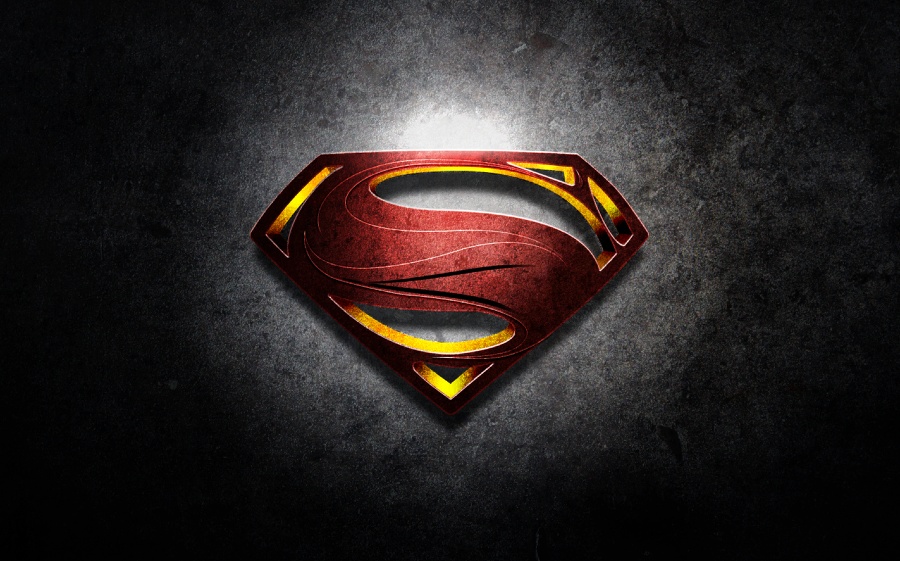
Download Photoshop file
DOWNLOAD THE PHOTOSHOP FILE USED FOR THIS TUTORIAL
More Details: http://abduzeedo.com/man-steel-symbol-illustrator-and-photoshop